Windows 10
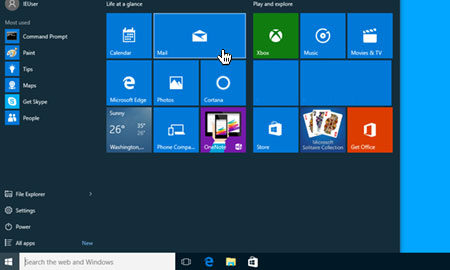
1) Open Windows 10 Mail
Open Windows 10 Mail by clicking on the Start button, then clicking on ‘Mail’.
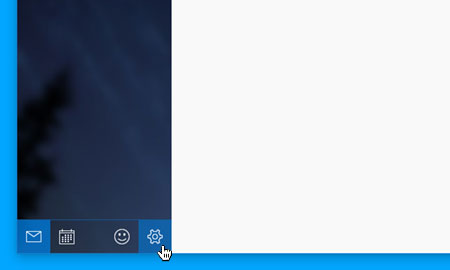
2) Choose ‘Settings’
Once Windows 10 Mail has opened, choose the ‘Settings’ icon (the cog) from the menu located at the bottom of the app.
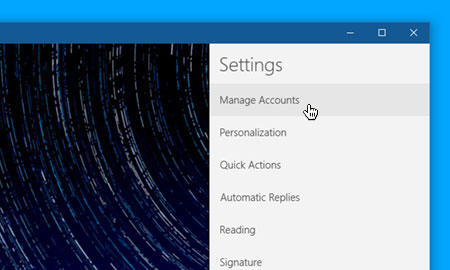
3) Choose ‘Manage Accounts’
Choose ‘Manage Accounts’ from the settings menu that appears on the right hand side of the screen.
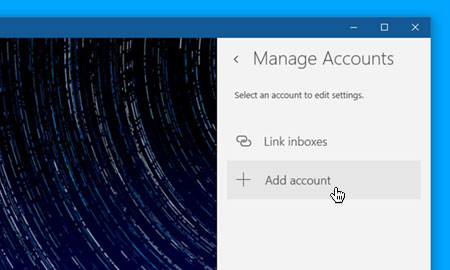
4) Choose ‘Add account’
Then click on the option labelled ‘Add Account’.
5) Choose ‘Advanced setup’
After you have entered your e-mail address and password, choose ‘Advanced setup’ from the list of different account types.

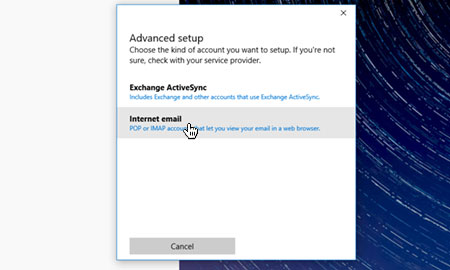
6) Choose ‘Internet email’
Then choose ‘Internet email’ to set up your account details.
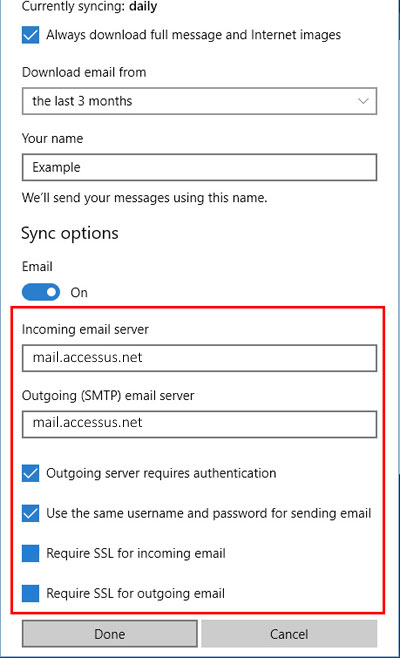
7) Enter your account details
- Enter your full e-mail address in the field labelled ‘Account name’.
- Enter your full name or business name in the field labelled ‘Your name’‘. This will appear in the ‘from’ field, when you send e-mail from this address.
- In the field labelled ‘Incoming email server’ please enter ‘mail.accessus.net’.
- Then choose your protocol via the ‘Account type’ dropdown menu (we normally recommend IMAP).
- Enter your e-mail address in the field labelled ‘Email address’, then enter your e-mail address again for the field labelled ‘Username’ using all lower case letters and numbers.
- In the ‘Password’ field, enter the password associated with your e-mail address.
- For ‘Outgoing (SMTP) email server’ please enter ‘mail.accessus.net’.
- Finally, uncheck the 2 SSL checkboxes at the end of the form.
- When you have entered the relevant details, click ‘Sign-in’ or ‘Done’ to proceed.
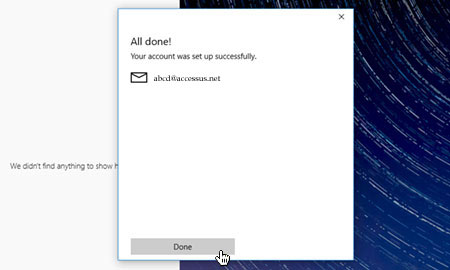
8) Windows 10 Mail Setup is complete
If you have entered your account details correctly, you’ll see a message reading ‘All done! – Your account is setup’. Simply click the button labelled ‘Done’ to complete the setup process. You are now ready to send and receive email using Windows 10 Mail.
Please Note: If you would prefer to use the mail with the SSL’s enabled, you will need to use ‘mail.hostedemail.com’ for the mail servers in Step 7, instead of the original domain name associated with your email account.