Dial Setup – Windows 7
The following are step-by-step instructions for configuring Dial-Up Networking in Windows 7.
1) Click on Start
![]()
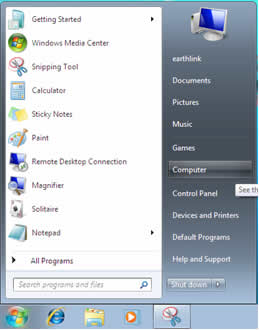
2) Then click on Computer
3) Click on Network and Internet
![]()
4) Click on Network and Sharing Center
![]()
5) Once you are in the Network and Sharing Center, click on the Set up a new connection or network option.
![]()
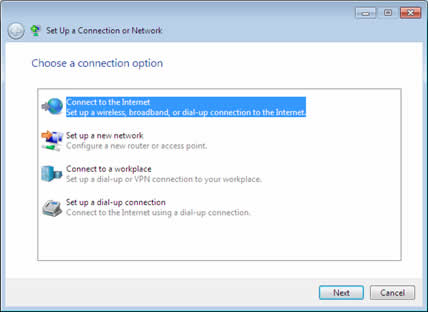
6) Click on Connect to the Internet.
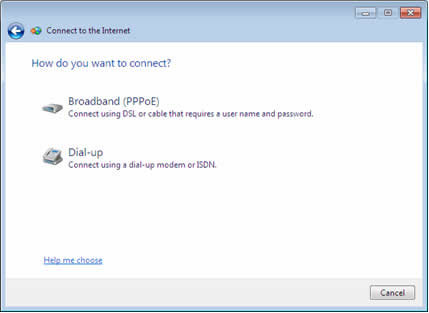
7) Click on the Dial-up option.
- Enter the Dial-up (POP) phone number you were given by Access US to dial for your Dial-up connection in the Dial-up phone number field.
- For User name, enter in your full Access US email address including the @accessus.net, brick.net, or other @domain-name.com part of your address.
- For Password, enter in your full Access US email address password.
- Check the option for Remember this password if you want the password automatically saved when you connect. If you do not check this option, you will have to manually enter your password every time you connect to Access US.
- For Connection name, name your connection Access US Dial Connection or something similar you will recognize as your Access US Dial-up connection.
- Click the Connect option to dial your new Dial-up Connection. This will also save this connection for future use.
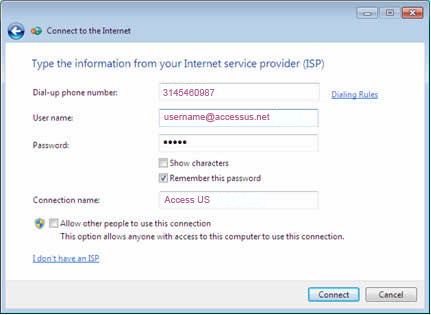
9) After clicking Connect, Windows 7 will attempt to connect to the Access US network over a Dial-up connection. You will need to have a Dial-up modem installed in the computer with an available phone line plugged into the modem port on the computer to connect to Access US.
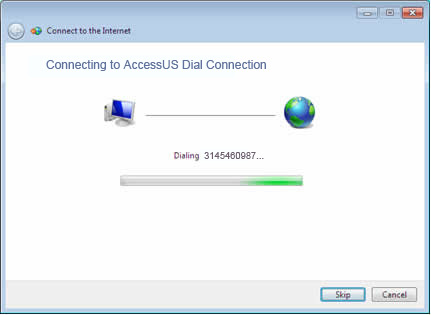
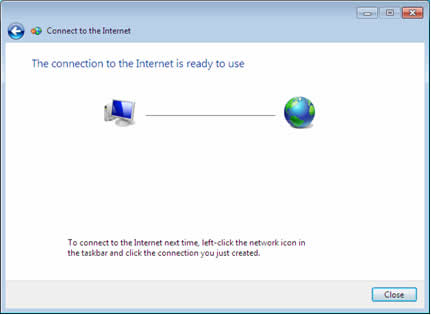
10) Once connected, you will see a The connection to the Internet is ready to use window. Click Close. You have now successfully connected to Access US via Dial-up and Windows 7 will save this connection for future use.
